Part 1: Pre-Startup Checklist
Before powering on your polarizer cleaning machine, a thorough pre-startup check prevents most common faults and protects both the machine and the film.
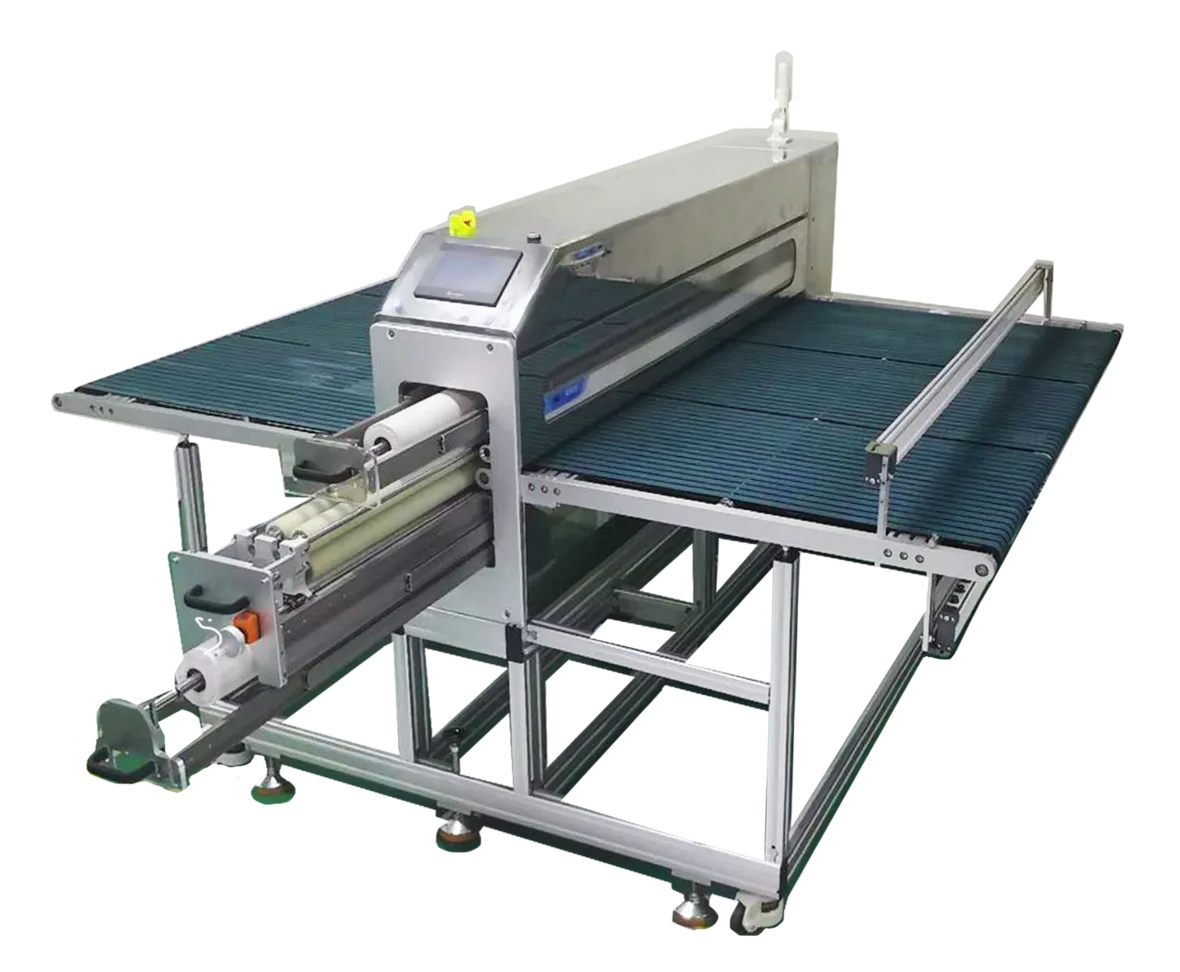
1.1 Environment & Equipment Inspection
- Confirm the machine is installed in a Class 1000 cleanroom on a level, vibration-free surface. Keep ambient temperature at 22 ± 3 °C and relative humidity between 45%–65%.
- Verify power supply (three-phase or single-phase 220 V) and air pressure (0.5–0.7 MPa) are within spec. Confirm the emergency stop button is released and the machine frame shows no deformation or loose parts.
- Inspect the infeed and outfeed tables for foreign objects. Check that transport rails and rollers are clean — no adhesive residue or dust accumulation.
1.2 Consumable Installation & Replacement
- Install silicone tack rollers (top and bottom pair). Confirm each roller is free of scratches or deformation, runs parallel to the film surface, and applies even pressure.
- Load a fresh peelable dust-collection paper roll. It must sit flush against the tack roller with no creases or lateral offset.
- Inspect the static elimination ionizing bar (7–10 kV rated): no obstructions, no blocked air outlets, and uniform ion airflow across the full width.
1.3 Default Parameter Presets
| Film Thickness | Transport Speed | Roller Pressure | Static Voltage |
|---|---|---|---|
| 0.05–0.3 mm (thin) | 5–15 m/min | Light: 0.1–0.2 MPa | 7–9 kV |
| 0.3–1 mm (standard) | 3–10 m/min | Medium: 0.2–0.3 MPa | 7–9 kV |
Avoid running too fast (missed cleaning) or too slow (film overlap/jamming). Never exceed 9 kV on the ionizing bar — excessive voltage can damage polarizer coatings.
Step 1: Power On & System Initialization
Key point: Industry data shows over 60% of equipment faults trace back to skipping initialization and forcing an early start. Always wait for the self-check to finish.
Step 2: Parameter Setup & Dry Run
Key point: Parameters must match the specific film material and thickness. Every time you switch to a different polarizer specification, recalibrate before production begins.
Step 3: Pre-Process the Polarizer Film
Key point: If large particles are present, remove them first with an ionizing air gun on low pressure. Skipping this step risks scoring both the film and the tack roller.
Step 4: Auto Feed & Alignment
Key point: For warped film, flatten it first or increase the infeed gap to 5 cm. Feeding warped sheets without adjustment is the primary cause of jams and roller damage.
Step 5: Static Elimination + Tack Rolling (Core Cleaning Stage)
This is the core step. Complete static neutralization and full-coverage tack rolling together achieve 99%+ micro-particle removal. Do not interrupt or bypass either stage.
Step 6: Output & Clean-Side Staging
Key point: Match outfeed speed to infeed speed for continuous, uninterrupted flow. Minimizing stop-start cycles extends roller and ionizing bar life.
Step 7: End-of-Batch Shutdown
Key point: Never cut power abruptly. Hard power-off bypasses the shutdown sequence and can damage the motor and control system over time.
Step 8: Consumable Replacement & Machine Cleaning
Key point: Check consumables every shift and replace on demand. Experienced operators consistently report that consumable condition is the single biggest factor in cleaning yield.
Part 3: Troubleshooting — Common Problems & Fixes
Scratches or Pressure Marks on Film
Cause: Hard particles on the tack roller surface; roller pressure set too high; large particles not removed during pre-processing.
Fix: Stop the machine and clean the roller. Reduce roller pressure. Enforce strict pre-processing to remove all visible particles before feeding.
Residual Dust or Static After Cleaning
Cause: Ionizing bar voltage too low or air outlets blocked; dust-collection paper roll saturated; tack roller has lost adhesion.
Fix: Increase static voltage to 8–9 kV and clean ionizing bar outlets. Replace the paper roll immediately. Clean or replace the tack roller.
Film Jam or Curl Blockage
Cause: Transport speed too high; warped film or uneven thickness; infeed gap too narrow.
Fix: Reduce transport speed. Flatten warped sheets before feeding. Widen the infeed gap for flexible, gentler entry.
Low Yield or Inconsistent Results
Cause: Parameters not matched to film spec; cleanroom contamination level too high; aging consumables not replaced.
Fix: Recalibrate parameters for the current film batch. Verify cleanroom classification meets Class 1000. Replace all consumables on schedule.
Part 4: Quality Acceptance — How to Verify Results
Visual Inspection
Under strong directional lighting, the film surface shows no visible dust, fibers, fingerprints, or stains — and no scratches, pressure marks, or curl.
Static Charge Measurement
Use a static field meter. Surface charge must read ≤ 100 V to meet optical film cleaning specifications.
Yield Confirmation
Sample 50 consecutive sheets. Cleaning yield ≥ 99%, with zero re-contamination or physical damage incidents.
Machine Condition Check
After the run, inspect all machine components for abnormal wear or debris accumulation. Confirm consumables are within service life.
Summary
Consistent results from a polarizer cleaning machine come down to three things: a disciplined pre-startup routine, precise parameter matching to each film specification, and regular consumable maintenance. New operators who follow this 8-step guide can expect stable, high-yield cleaning from day one.
Once you have the basics down, the next level is learning smart parameter optimization and inline integration with your production line — both of which further improve throughput and yield consistency.
"The details are what separate good cleaning from great cleaning. Process is the foundation, parameters are the engine — get both right and the yield takes care of itself."
Looking for a Polarizer Cleaning Machine?
DGSDK manufactures precision polarizer cleaning machines for optical film and display production lines. Talk to our team about your substrate specs, throughput requirements, and cleanroom setup.